
Tip & Trick
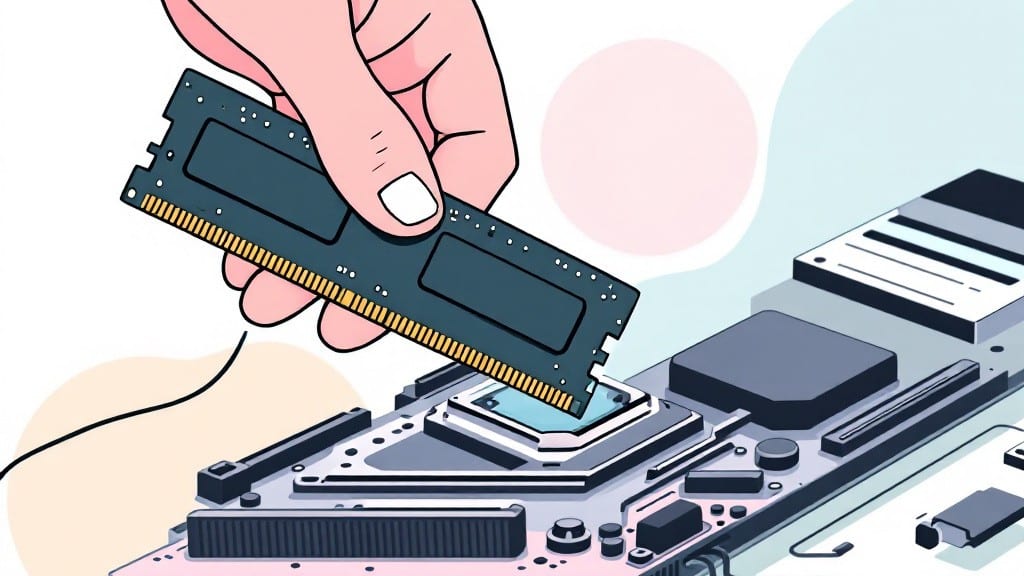
Installing RAM in your desktop PC is easier than you think—even if you’ve never touched a motherboard before. ⚡ I’ve helped dozens of first-timers do this without a single bent pin or fried component, and the key is taking it slow.
The worst mistake isn’t dropping screws; it’s rushing and misaligning the modules, which can damage both the RAM and your motherboard slots.
First, power down completely and unplug your PC. You’ll need a Phillips-head screwdriver (usually included with your case) and a flat surface to work on. Check your motherboard manual for RAM type (DDR4 or DDR5) and slot compatibility—most systems use slots A2/B2 for dual-channel setups, but always verify.
Pro tip: hold the RAM module by its edges only; oils from your fingers can corrode contacts over time.
The installation itself takes under five minutes once you’re ready. Open the case, locate the RAM slots (they’re the long, narrow connectors near the CPU), and line up the notch on the RAM module with the slot’s key.
Press down firmly until the clips snap into place—you’ll hear a satisfying click. If it doesn’t seat properly, stop and recheck alignment before forcing it.
After securing the RAM, boot up and enter BIOS (usually by pressing Delete or F2 during startup) to confirm detection. In Windows, open Task Manager (Ctrl+Shift+Esc) and check the Performance tab to verify the new memory.
If your system doesn’t recognize it, double-check the slot or try reseating the module—90% of issues stem from poor contact, not defective hardware.
📚 In This Guide
- What you need
- Instructions
- Tips and common mistakes
- Wrapping up and next steps
What you need
- ● RAM module(s): Compatible with your motherboard (check specs for type—e.g., DDR4, DDR5—and capacity, like 8GB, 16GB, or 32GB). Quantity depends on your setup (e.g., 2x8GB for dual-channel).
- ○ Anti-static wrist strap (optional but highly recommended): Protects your components from static electricity (ground it to a metal part of your case!).
- ● Phillips-head screwdriver: For removing case panels and securing RAM.
- ● Isopropyl alcohol (90%+) and lint-free cloth: For cleaning contacts on old RAM (if reusing).
- ● Your PC case: Already open or ready to access the motherboard.
- ● Thermal paste: If you’re also upgrading your CPU cooler (not RAM-related but often done together!).
- ● Magnifying glass: Helps spot tiny labels or connections on the motherboard.
- ● Compressed air: Cleans dust from your case before working.
Step-by-Step instructions for installing RAM in a desktop PC
Here's how to safely add memory without stress—even if you've never done it before.
🔧 Step 1: Power Down and Prepare Your Workspace
First, shut down your PC completely and unplug the power cable from the back. I always give it 30 seconds to fully discharge any residual power—this prevents static shocks that can damage your memory modules. Next, lay your case on a clean, flat surface with the side panel off.
Ground yourself by touching the metal chassis briefly before handling anything inside. Static electricity can ruin sensitive components, and this simple step protects your investment. Keep your RAM modules and a small Phillips-head screwdriver nearby—they're all you'll need for this part.
⚡ Step 2: Locate and Open the RAM Slots
Your motherboard's RAM slots are usually near the CPU, often covered by a small plastic clip or latch. Look for two to four long, rectangular slots labeled DIMM 1, DIMM 2, etc. These are where your RAM modules will go. If your case has a side panel with a vent, you might see the slots through the mesh.
Gently lift the clips on either end of the slot—you'll hear a soft click as they release. The slot will open at a 45-degree angle. Don't force it; if it resists, you might have the wrong slot or a stuck latch. Most modern motherboards support DDR4 RAM, so check your manual if unsure.
💻 Step 3: Align and Insert the RAM Modules
Take your RAM module and align the notch on the bottom edge with the corresponding gap in the slot. The notch ensures proper orientation—DDR4 modules only fit one way. Press down firmly until you hear a click and feel the clips snap into place. This confirms a secure connection.
If your PC requires two modules, install them in the A2 and B2 slots (check your motherboard manual for exact pairing). Mixing slots can cause performance drops or instability. Once seated, the module should stand upright with no wobble—if it does, remove and reinsert it.
💡 Step 4: Secure the Side Panel and Power On
Reattach the side panel of your case, ensuring all screws are snug but not overtightened. Plug the power cable back in and press the power button. Your PC should boot normally—if it doesn't, the RAM might not be fully seated or could be incompatible.
To verify, open Task Manager (press Ctrl + Shift + Esc), go to the Performance tab, and check the Memory section. It should show the correct RAM capacity (e.g., 16GB or 32GB). If not, reseat the module or test it in a different slot.
⏰ Step 5: Update BIOS for Optimal Performance
For best results, update your motherboard's BIOS to ensure compatibility with your new RAM. Boot into the BIOS (usually by pressing Del, F2, or F12 during startup), navigate to the Memory Settings, and enable XMP or DOCP if your RAM supports it. This unlocks the full speed of your modules.
Save changes and exit. Your system should now run smoother with the extra memory. If you encounter issues, like blue screens or random reboots, reseat the RAM or test each module individually to isolate the problem.
Tips & tricks for flawless RAM installation
Even the simplest tech projects get tricky when you're new—here's how to avoid the most common pitfalls when installing RAM.
Static Shock Prevention: That 30-second wait after unplugging in Step 1 isn't just a suggestion—it's critical. I've seen RAM modules fail after static discharge, and it's always preventable. Work on a carpeted floor or ground yourself by touching the metal case before handling anything. If you're worried, keep your RAM modules in their anti-static packaging until the last moment.
Slot Identification: Your motherboard manual is your best friend here. While most DDR4 RAM fits in any slot, pairing them correctly in Step 3 matters for performance. Look for the A2/B2 pairing labels—this ensures dual-channel mode. If you're unsure, start with a single module in the first slot (usually DIMM 1) and test before adding a second.
The Click Test: That satisfying click when inserting your RAM in Step 3 means success. If you don't hear it, the module isn't fully seated. Don't force it—just remove and reinsert at a 45-degree angle. A wobbly module means it's not locked in properly, which can cause system instability or crashes.
BIOS Update Strategy: Updating your BIOS in Step 5 unlocks full RAM potential, but it's risky if done wrong. First, check your motherboard manufacturer's website for the latest version. Create a bootable USB with the update file using their tool, then follow their specific instructions. I've seen systems brick when users skip this step—always verify compatibility first.
Pro Tips for Install Ram In A Desktop Pc
- Even the simplest tech projects get tricky when you're new—here's how to avoid the most common pitfalls when installing RAM.
- Static Shock Prevention: That 30-second wait after unplugging in Step 1 isn't just a suggestion—it's critical.
- Slot Identification: Your motherboard manual is your best friend here.
Frequently asked questions
Got questions about upgrading your RAM? You’re not alone! Here are answers to the most common concerns—whether you’re a first-timer or just double-checking details.
Do I need to turn off my PC to install RAM?
Always power down and unplug your PC before opening the case. Static electricity or accidental shorts can fry components. Wait at least 10 minutes after shutdown to let residual charge dissipate. Safety first!
What if my RAM sticks don’t fit snugly in the slots?
If they wiggle or don’t click into place, stop immediately. Check for these fixes:
- Align the notch—RAM sticks have a single notch; force won’t help if it’s misaligned.
- Try another slot—some motherboards require specific pairs (e.g., slots 2+4 for dual-channel).
- Check for dust/debris—gently clean contacts with a dry, lint-free cloth.
Is it worth buying faster RAM if my PC already runs fine?
It depends! If your system idles or handles light tasks smoothly (e.g., web browsing, office work), faster RAM (e.g., 3200MHz vs. 1600MHz) won’t noticeably boost performance. Save for upgrades like a CPU or SSD first. But for gaming or video editing, higher speeds can help—just ensure your motherboard supports it.
Can I mix RAM kits (e.g., 8GB + 16GB) without issues?
Technically yes, but it’s risky. Matching kits ensure consistent speeds and timings. Mixing can cause:
- One stick running at lower speeds (slower than the faster kit).
- Potential instability (crashes, BSODs) if kits use different voltages.
My PC won’t turn on after installing RAM. What now?
Don’t panic! Follow this 3-step troubleshooting guide:
- Reseat the RAM—remove and reinsert sticks firmly in slots 2+4 (for dual-channel).
- Test one stick at a time—if it works alone, the other may be faulty.
- Check power connections—ensure the 24-pin motherboard cable and CPU power are secure.
Wrapping up and next steps
Installing RAM in your desktop PC is easier than you think—just follow the steps carefully, and you’ll be upgrading like a pro in no time! 🎉 With the right tools, patience, and a little know-how, you’ve just taken a big step toward boosting your system’s performance.
Now that you’re ready, why not test your new RAM or explore other upgrades like a faster SSD or powerful GPU? Your gaming, multitasking, or creative projects will thank you!
Pro tip: If you’re feeling adventurous, check out your motherboard’s manual for overclocking tips—but start small to avoid risks!