Tip & Trick
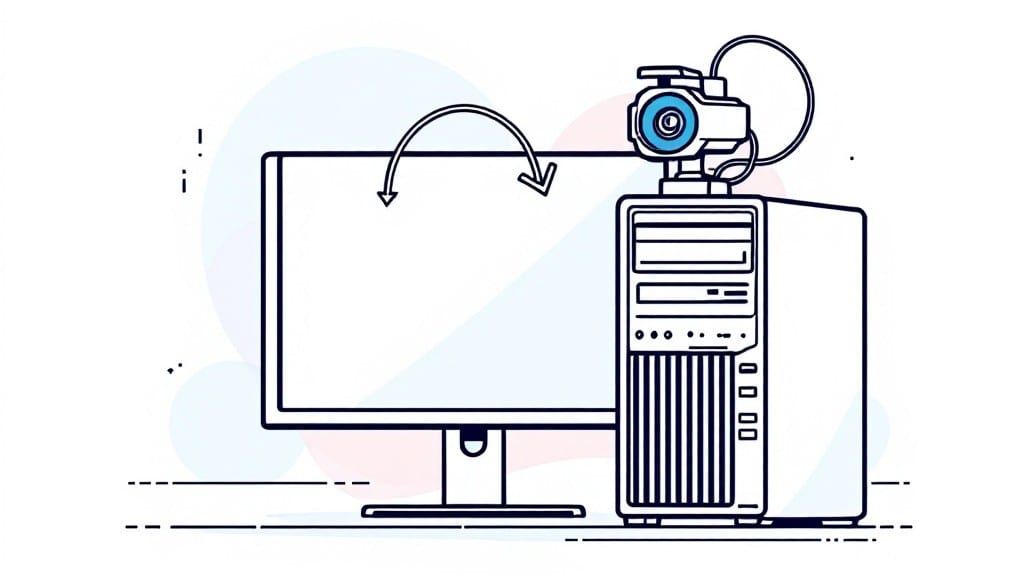
Recording gameplay on PC used to mean clunky software and choppy footage, but today you can capture smooth, high-quality clips with tools already built into your system. ✨ I’ve recorded everything from retro ThinkPad gaming sessions to modern AAA titles using just Windows’ native tools—no extra software needed.
The key is knowing which method fits your setup and what trade-offs you’re willing to make between quality and performance.
Windows’ Xbox Game Bar is the simplest option, requiring zero setup and working across most games. For more control, third-party tools like OBS Studio or GeForce Experience offer advanced features—like custom hotkeys, multiple audio sources, and direct uploads to platforms.
My own setup uses OBS for its flexibility, but I’ve seen Game Bar handle 1080p60 recordings without breaking a sweat on mid-range hardware. The right choice depends on whether you prioritize convenience or customization.
You’ll end up with crisp, shareable footage whether you’re streaming or saving highlights. Game Bar is foolproof for beginners, while OBS gives pros granular control over bitrate, resolution, and even game-specific overlays.
Both methods avoid the lag that used to ruin recordings, and troubleshooting common issues—like audio sync or black screens—is straightforward once you know the tricks. I’ll walk you through each step, including how to balance quality and performance so your recordings stay smooth.
We’ll cover built-in tools first, then dive into third-party options, so you can pick what works best for your rig. Whether you’re a casual gamer or a content creator, these methods will give you professional-quality captures without the hassle. Let’s get started—your best clips are just a few clicks away.
📚 In This Guide
- What you need
- Instructions
- Tips and common mistakes
- Wrapping up and next steps
What you need
- ● PC with Windows 7 or later (Windows 10/11 recommended for best compatibility)
- ● Game installed and ready to play (supports fullscreen or windowed mode)
- ● Built-in tools: Xbox Game Bar (Windows 10/11)
- ○ OBS Studio (free) (optional but powerful for advanced users)
- ● Storage space: At least 500MB–1GB free per hour of gameplay (4K = higher storage needs!)
- ● External microphone (for crisp voice chat recordings, e.g., Blue Yeti or HyperX QuadCast)
- ● High-speed SSD (for faster recording and playback)
- ● RGB lighting or webcam (to add flair to your streams)
- ● Headphones (to monitor audio without echo)
- ● Third-party software: NVIDIA ShadowPlay (for NVIDIA GPU users)
- ● AMD ReLive (for AMD GPU users)
- ● Bandicam (paid but lightweight)
Step-by-step instructions for no-lag gameplay recording on Windows
Here's the straightforward method I use to capture smooth, high-quality gameplay without performance drops.
💻 Step 1: Enable Xbox Game Bar for Built-In Recording
Press the Windows key + G to open the Xbox Game Bar. If you don't see it, enable it first: go to Settings > Gaming > Xbox Game Bar and toggle it on. This built-in tool records at 1080p/30fps by default, which works great for most games.
Before starting your recording, check that your game is running at its highest settings. The Game Bar captures exactly what's on your screen, so if your game is lagging, the recording will too. I always close unnecessary background apps first to maximize performance.
⌨️ Step 2: Start and Stop Recording with Keyboard Shortcuts
Press Windows key + Alt + R to begin recording. You'll see a red overlay appear in the corner of your screen. The recording starts immediately, so make sure you're ready before pressing the keys. For stopping, use Windows key + Alt + R again—the recording will save automatically to your Videos > Captures folder.
Here's the thing—I've found that some games trigger anti-cheat warnings when recording starts. If you see a prompt, just click "Allow" to continue. The recording will pause briefly during this, but you can resume immediately after.
💡 Step 3: Adjust Settings for Better Quality and Performance
Right-click the recording overlay and select Settings. Under Recording settings, you can change the resolution to 1440p if your GPU can handle it, though this may impact performance in some games. For framerate, 60fps is ideal if your system supports it without stuttering.
Under Microphone settings, toggle on your headset if you want to capture commentary. I always test the mic volume before starting a long recording session to avoid clipping. Save your settings and exit—these changes apply to all future recordings.
⏰ Step 4: Verify and Share Your Recording
After stopping, your recording will appear in the Videos > Captures folder. Open it to verify the quality—look for smooth gameplay and clear audio. If the recording skips or stutters, try lowering the resolution or framerate in the Game Bar settings.
To share directly, right-click the file and select Share > Upload video. You can also edit the recording with Windows' built-in Photos app to trim highlights or add effects before uploading.
Tips & tricks for perfect gameplay recording without lag
These simple tweaks will help you capture smooth, professional-quality gameplay without sacrificing performance or quality.
System Optimization Before Recording: I can't emphasize this enough—close every background application before recording. Even seemingly harmless apps like Discord, Slack, or Chrome tabs running in the background can cause stuttering. Use Task Manager (Ctrl+Shift+Esc) to end any unnecessary processes. I've seen recordings go from buttery smooth to choppy just because Spotify was playing in the background.
Keyboard Shortcut Practice: The Windows key + Alt + R shortcut is muscle memory after years of use, but if you're new to it, practice pressing it without looking. The recording starts immediately, so you don't want to accidentally capture your "ready?" screen. Try pressing it a few times in a blank game window first. Pro tip: Assign the shortcut to a dedicated key on your keyboard if you're using a mechanical setup—it makes a huge difference during long sessions.
Resolution vs Performance Balance: While 1440p looks stunning, your GPU might struggle with some games at 60fps. Start with the default 1080p/30fps setting in Step 3, then gradually increase resolution or framerate while monitoring performance. I've found that most mid-range GPUs can handle 1080p/60fps without issues, but high-end GPUs are needed for 1440p/60fps. Always test in your actual game first—some engines handle recording better than others.
Microphone Testing is Non-Negotiable: Before starting that important recording, do this: open the Xbox Game Bar settings, enable your microphone, and speak a test sentence. Adjust the volume slider until your voice is clear but not distorted. I've ruined multiple recordings because I forgot to check mic levels—don't make my mistake. For commentary, I recommend using a USB headset with a built-in mic rather than your system's microphone for better quality.
Pro Tips for Record Gameplay On Pc
- These simple tweaks will help you capture smooth, professional-quality gameplay without sacrificing performance or quality.
- System Optimization Before Recording: I can't emphasize this enough—close every background application before recording.
- Keyboard Shortcut Practice: The Windows key + Alt + R shortcut is muscle memory after years of use, but if you're new to it, practice pressing it without looking.
Frequently asked questions
Got questions about recording gameplay on PC? You’re not alone—here are answers to the most common ones to help you capture your best moments without a hitch!
Can I record gameplay without third-party software?
Windows 10 and 11 come with built-in tools like the Game Bar (Xbox Game Bar) (Win + Alt + R) and Windows Game Recording (Win + Alt + G). These are perfect for quick clips and full recordings with minimal setup. For even better quality, try OBS Studio (free) or NVIDIA ShadowPlay (if you have an NVIDIA GPU).
How do I record gameplay without FPS drops?
FPS drops during recording happen when your PC struggles with the extra workload. To avoid this:
- Lower your recording resolution (e.g., 720p instead of 1080p).
- Reduce the frame rate to 30-60 FPS (depending on your game).
- Close background apps to free up CPU/RAM.
- Use hardware encoding (like NVIDIA NVENC or AMD AMF) if available.
Where are my recorded gameplay files saved?
The default save location depends on the tool you use:
- Xbox Game Bar:
Videos\Capturesfolder. - OBS Studio: Check the Output settings under Settings.
- NVIDIA ShadowPlay:
Videos\NVIDIA\ShadowPlay.
Can I edit my gameplay recordings after recording?
Yes! Most recording tools let you trim clips directly in their software (e.g., OBS Studio or ShadowPlay). For more advanced editing, use free tools like:
- Shotcut (cross-platform, easy to use).
- OpenShot (beginner-friendly).
- CapCut (great for adding effects/music).
Why isn’t my microphone audio recording?
If your mic isn’t picking up sound, check these quick fixes:
- Ensure your mic is selected as the default input device in Windows Sound Settings.
- Adjust the mic volume slider in your recording software.
- Test your mic outside the game (e.g., in a voice recorder app).
- For OBS/NVIDIA, go to Audio Settings and enable Monitoring for game audio.
Wrapping up and next steps
Recording gameplay on your PC has never been easier—whether you’re capturing epic moments for highlights, creating content, or troubleshooting, built-in tools like Xbox Game Bar and NVIDIA ShadowPlay make it seamless. With minimal setup and zero lag, you can focus on what matters: playing and sharing your best moments.
Now that you’re equipped with the knowledge, give it a try! Start with a quick test recording, experiment with settings, and soon you’ll be a pro. Ready to level up? Check out our guide on editing your footage for the next step!